-
-
products
-
resources
-
support
-
company
-
How to Revive an Old PC – Part 2
By Steve Horton December 05, 2011optimizing, pc, revive an old pc, revivingNo CommentsHow to Revive an Old PC – Getting the Diagnostics Right
Welcome to Part 2 of our five-part series about reviving an old PC. Check out part 1 here, and then read on for how to prepare a diagnostic disc, turn on the PC, run diagnostics, hook it up to the Internet, run Windows Update, and run Driver Reviver.
Prepare Diagnostic Disc
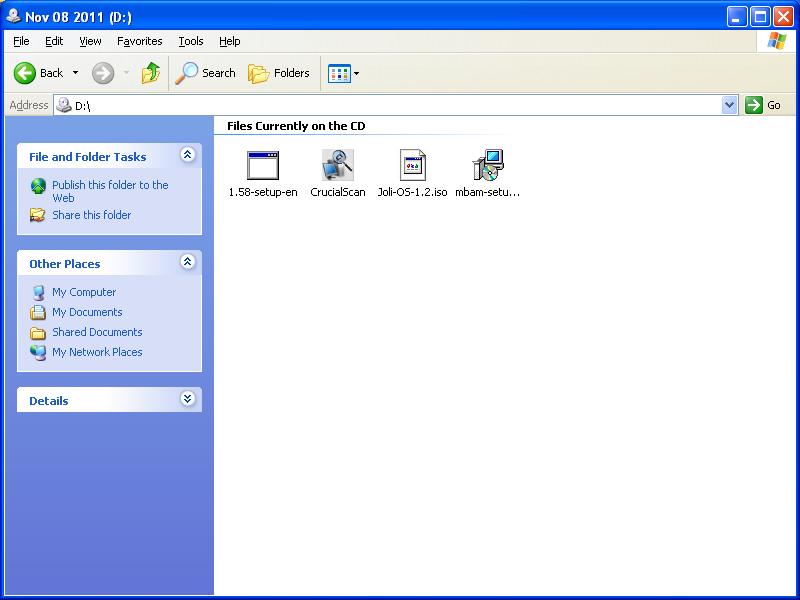
On another PC, burn a disc or make thumbdrive with the installation files for these apps:
Crucial’s memory scanning utility
CPU-Z, a free system information app
Each of these will tell you important information about your new (old) PC, and will clear off any bad things before we hook it up to the Internet.
Turn it On
Make sure any switches on the back of the PC and monitor are switched on. Push any power buttons on the monitor, then push the power button on the PC.
First thing we see is Windows XP. That’s a good sign. Any earlier version of Windows, and we’d run into severe security issues.Install Diagnostic Apps
After Windows starts up, put the CD in the drive or plug the thumbdrive into one of the USB ports. Navigate to each installation and install it.
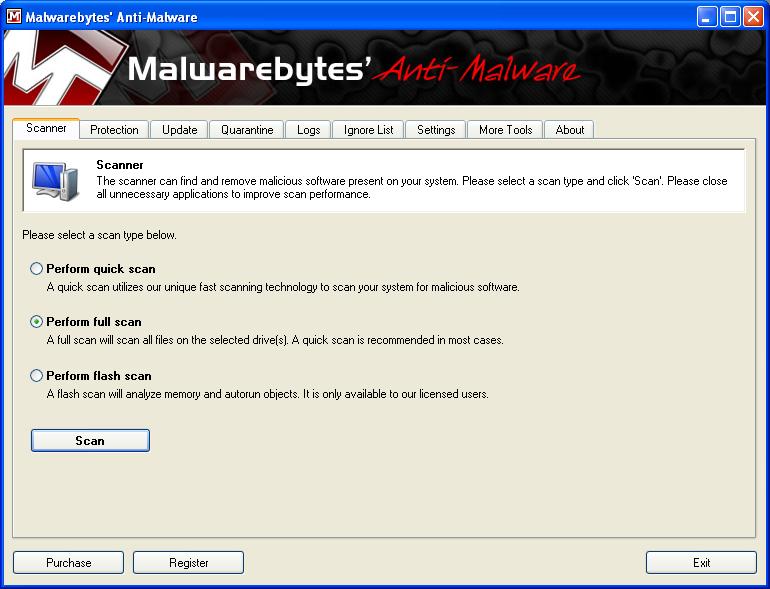
Run the complete virus scan for Malwarebytes. If it catches anything, clean it off.
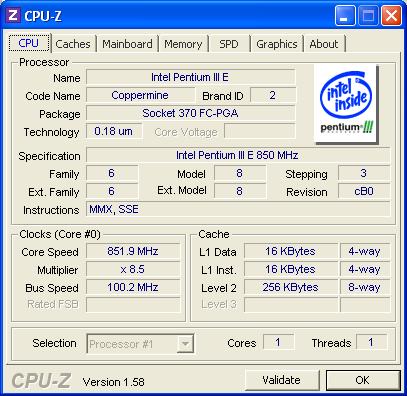
Run CPU-Z. Take a look at the CPU tab and you can see that it is indeed a Pentium-III, with a single core. Click on the other tabs to find out more about what’s inside.
Hook it Up to the Internet
If you’ve got your cable modem, DSL router or FiOS box nearby, run an Ethernet cable from it to your new machine.
Plug the cable into the Internet provider’s router or modem and into the back of the PC.
Run Windows Update, Crucial & Driver Reviver
The first thing you need to do is update Windows. This is a pretty involved process, especially with older machines, so expect to sink a few hours in, including many restarts, before Windows is fully updated.
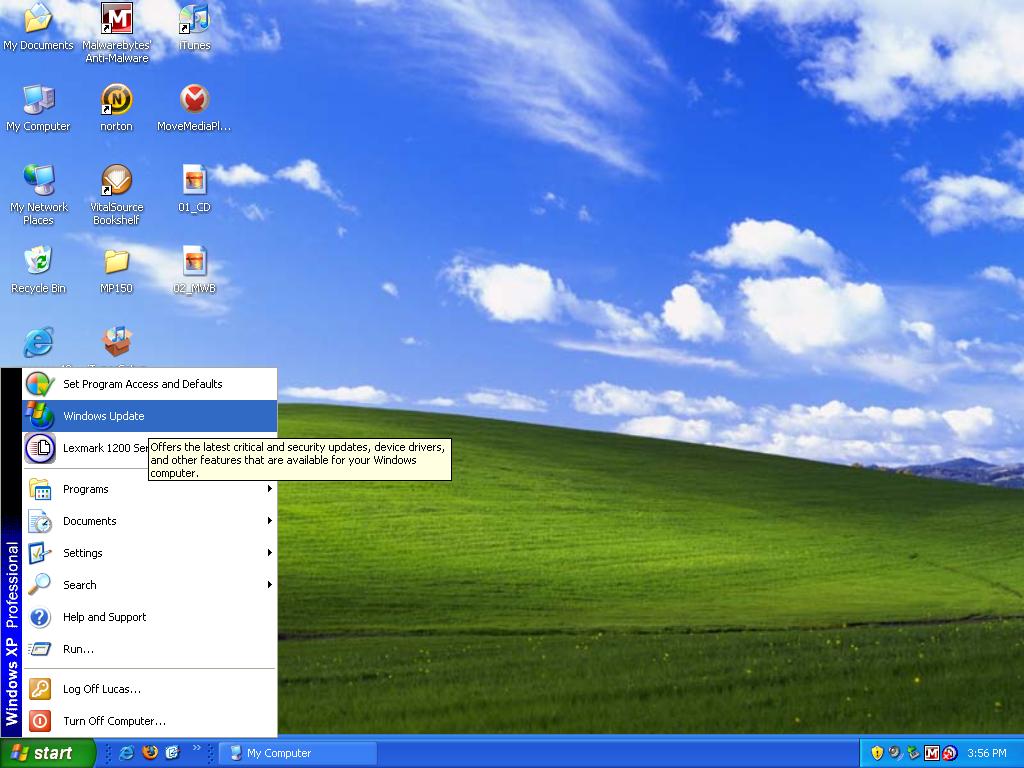
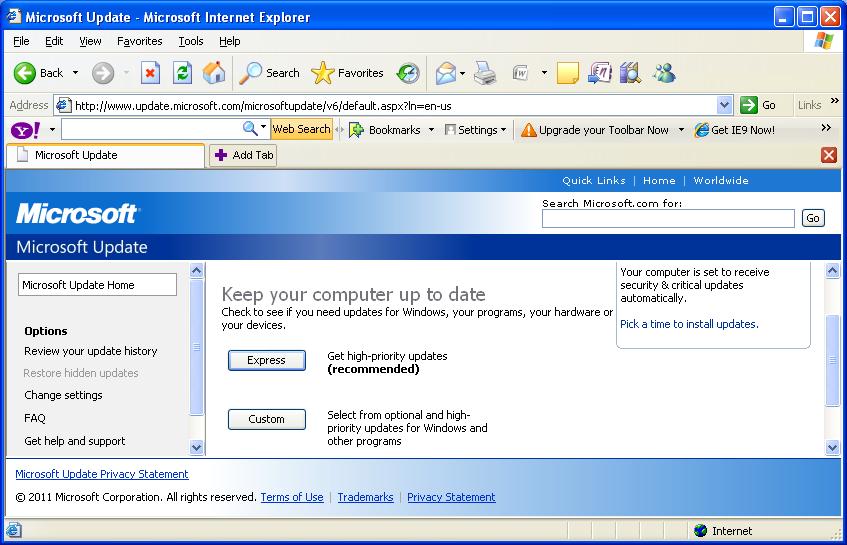
Click Start, then Windows Update.
Internet Explorer will launch, and ask if you want to use Microsoft Update instead. This will update other Microsoft products on the machine, so do that.
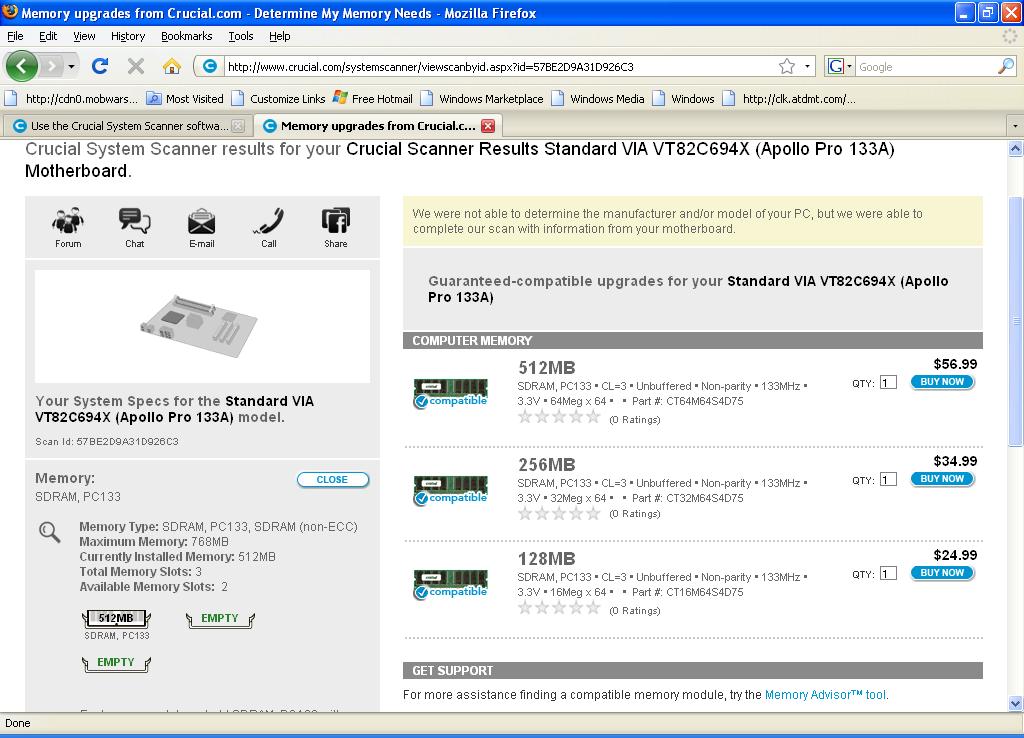
After Windows is all updated, and Internet Explorer as well, run the Crucial memory scanner app you installed earlier. It’ll tell you how much memory is in your computer, what the maximum it can hold is, and offer to sell you recommended upgrades. It’s a good idea to max out the memory in the machine if you are able; keep in mind that memory modules often must be installed in identical pairs.
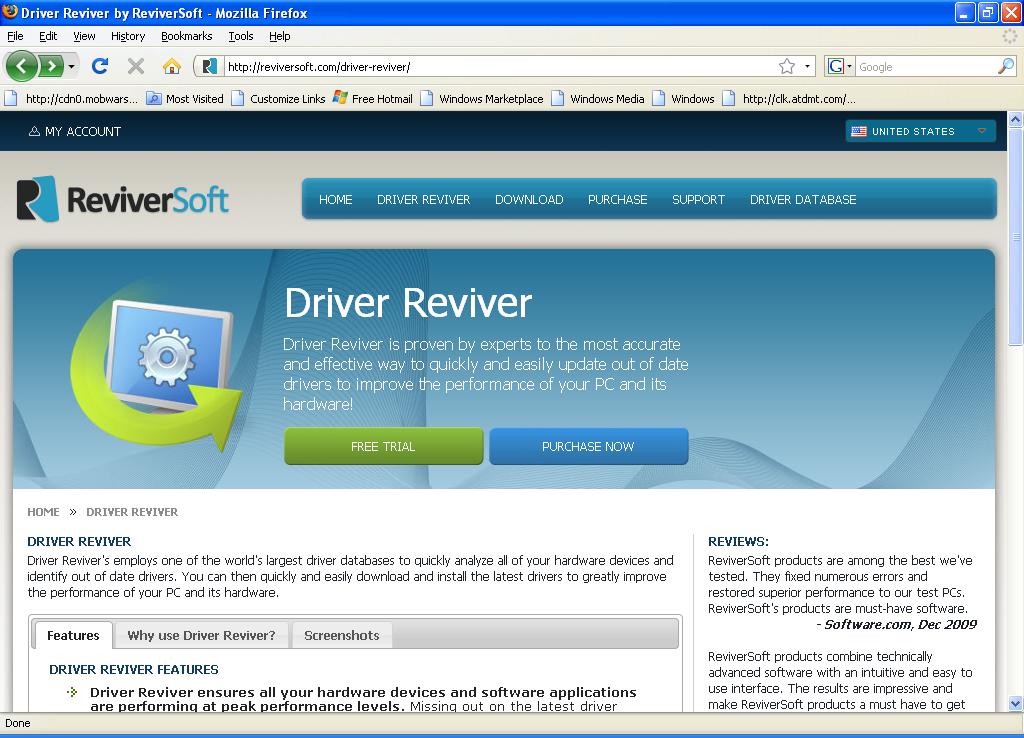
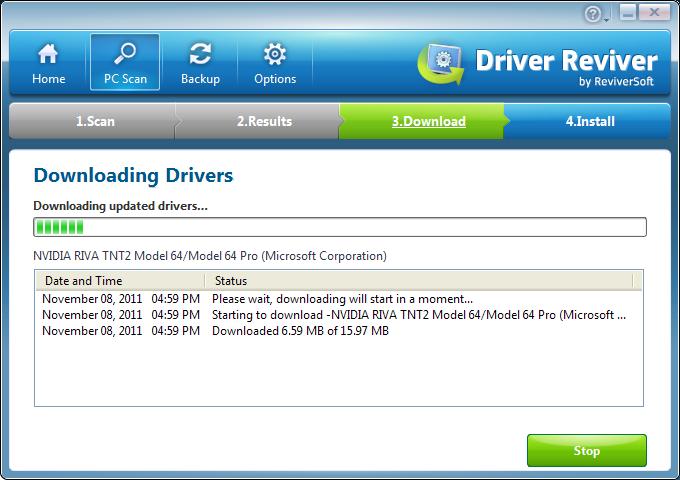
Finally, download and install our own Driver Reviver to update all the drivers on the machine for maximum performance and fewer crashes.
Windows Update often doesn’t catch all the drivers, and Driver Reviver has a massive database of them. Downloading and installing all the latest drivers will require another restart.
OK! Now you have a refurbished PC. One optional step, if you have a Windows disc, is to format the hard drive and reinstall Windows completely, for a cleaner experience. Also, sometimes old PCs will have personal data on them from the previous owner that you’d rather not mess with.
Check out Part 3, coming soon, where we’ll go over a complete upgrade for your refurbished PC.
Was this post helpful?YesNoFree Driver Updates
Update your drivers in less than 2 minutes to enjoy better PC performance - Free.
Free Driver Updates
Update your drivers in less than 2 minutes to enjoy better
PC performance - Free.
Didn't find your answer?Ask a question to our community of experts from around the world and receive an answer in no time at all.most relevant recent articles Pin It on Pinterest


